How to Lunge a Horse Correctly: Complete Guide to Technique and Safety
Lunged well, a horse learns balance, rhythm and to listen to your voice before a rider ever sits on him. Lunged badly, he just gets fitter at running round in circles.
Lunging is one of the most useful tools you have, because it lets you see your horse. In the saddle you can only feel what’s happening underneath you. On the lunge you can watch how sound, fresh and supple your horse is, and have a conversation with him that’s hard to have once you’re on board.
Carrick taught me that. (He’s the stallion from my story about horses and jealousy.) I lunged him before every ride, and within a few minutes he’d tell me exactly what kind of day it was. If he was fresh, he’d gallop round me, and I’d let him get it out of his system safely before I asked for anything. If he was in a mellow mood, he’d trot quietly round, and I knew I could get on. I could feel it through the lunge line too, the tension or the lack of it, and it was never wrong. I never had a bad ride on Carrick after lunging him first.
— Jenni B
Lunging looks simple from the outside: a horse, a long line and a circle. But almost everything that goes wrong on the lunge comes from a handful of small things — standing in the wrong place, a circle that’s too small, side reins that go on too tight and too soon, or sessions that run on far too long. Get those right and lunging becomes one of the most useful tools you have, for a youngster starting out, a horse coming back from time off, or simply checking how your horse is moving before you ride.
This guide covers the equipment you actually need, how to stand and hold everything, how to read what your horse is telling you, and a six-week plan to build it up properly. I’ve also put the essentials into a free printable checklist you can take to the arena.
Free Printable Lunging Guide
Equipment checks, voice commands, session plan and safety points, on one page you can take to the arena.
Download Free →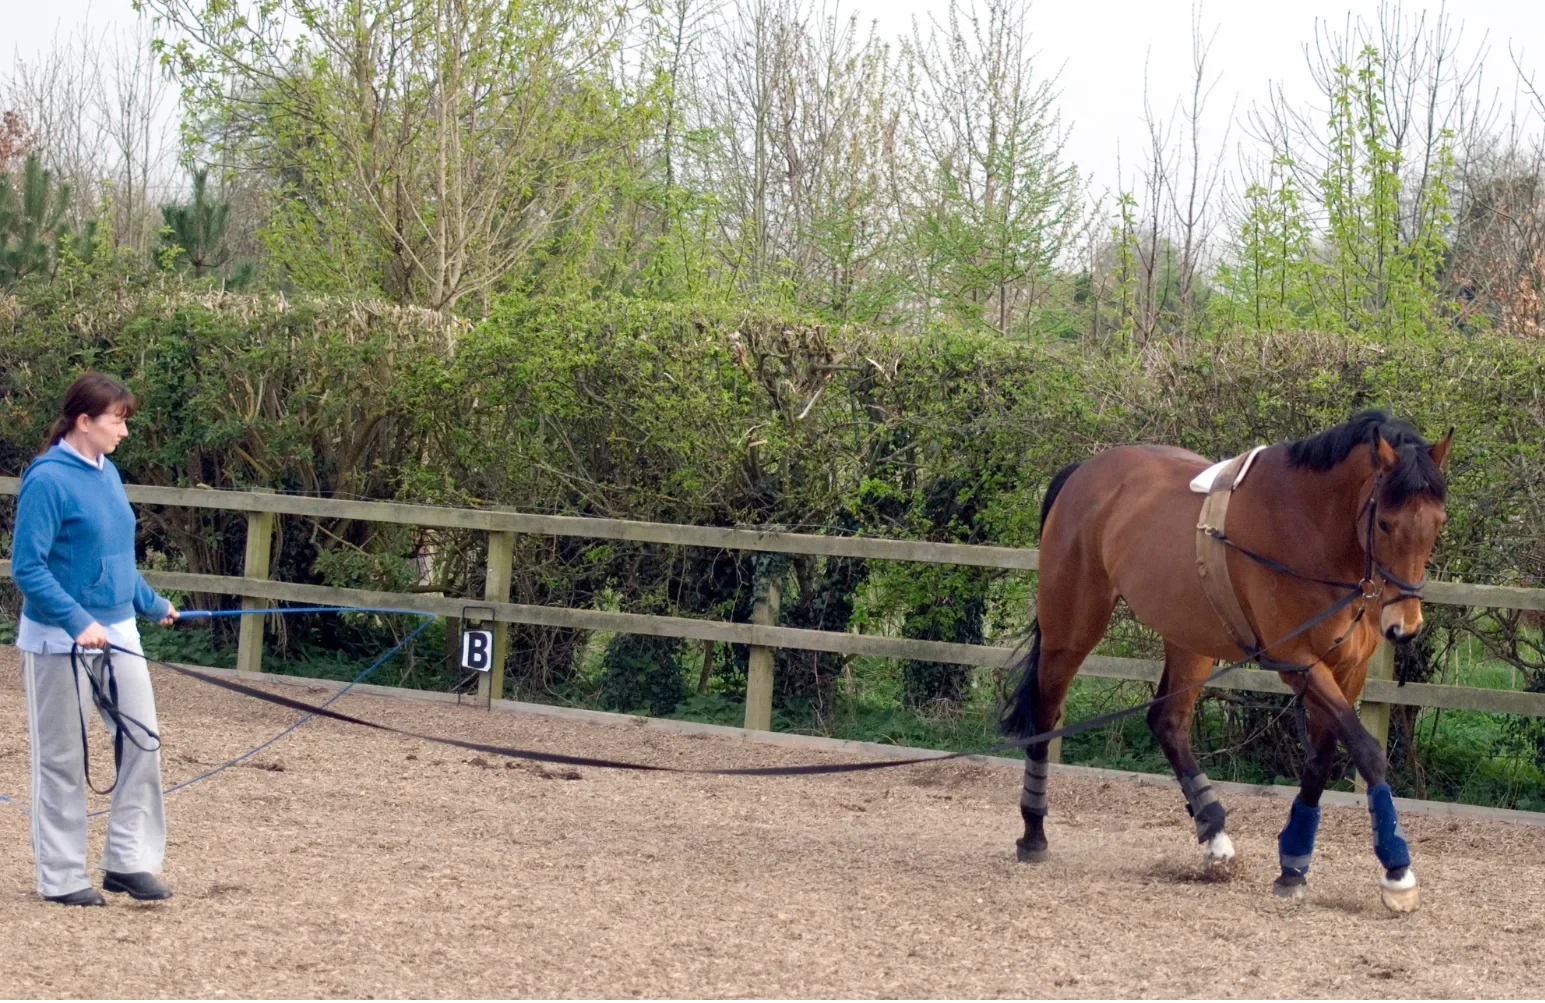
Lunging at a Glance
The numbers worth knowing before you start:
Why Lunge at All?
- It builds balance and strength without a rider’s weight — especially through the back, core and hindquarters.
- It teaches voice commands that carry over into backing and riding.
- It lets you see your horse move. Unevenness, stiffness on one rein or a shortened stride is far easier to spot from the middle of a circle than from the saddle.
- It’s controlled exercise for horses coming back into work, under your vet’s guidance.
- It’s a check-in before riding — you learn a lot about your horse’s mood and energy in the first five minutes.
Not a Way to “Take the Edge Off”
Chasing a fresh horse round until he’s tired teaches him to rush and puts real strain on joints and tendons, especially on a small circle. If your horse is too fresh to ride, lunge for calm and rhythm, not exhaustion.
The Equipment You Need
| Item | What to look for |
|---|---|
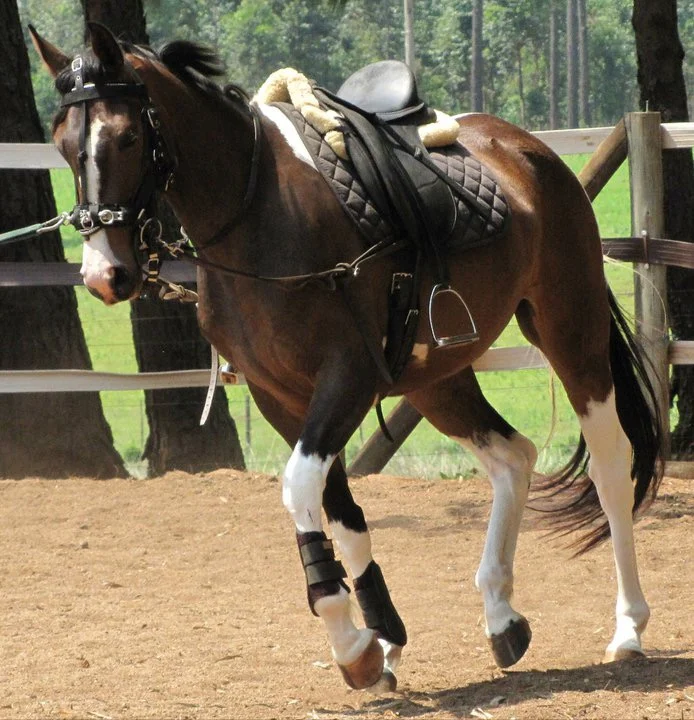
| Lunge cavesson | Three rings on the noseband; sits about two fingers below the cheekbone, snug enough not to twist into the outside eye. A well-fitted headcollar will do for basic work. |
| Lunge line | 7.5–9 m of lightweight webbing or cotton with a secure clip. Heavy lines drag on the horse’s head. |
| Lunge whip | Long enough to reach towards the hindquarters from the centre of the circle. It’s an extension of your arm, not something to hit with. |
| Boots or bandages | All four legs. Circles load the legs unevenly and horses knock themselves more easily. |
| Roller or saddle | Only if you’re using side reins. Run the stirrups up and secure them so they can’t swing. |
| Side reins (optional) | Elasticated or with a rubber ring, both the same length. See the section below before you use them. |
| For you | Gloves, a hard hat and boots with grip. Every time, not just with youngsters. |
How to Stand and Hold Everything
This is where most problems start, so it’s worth getting right before you ask for a single step.
The triangle
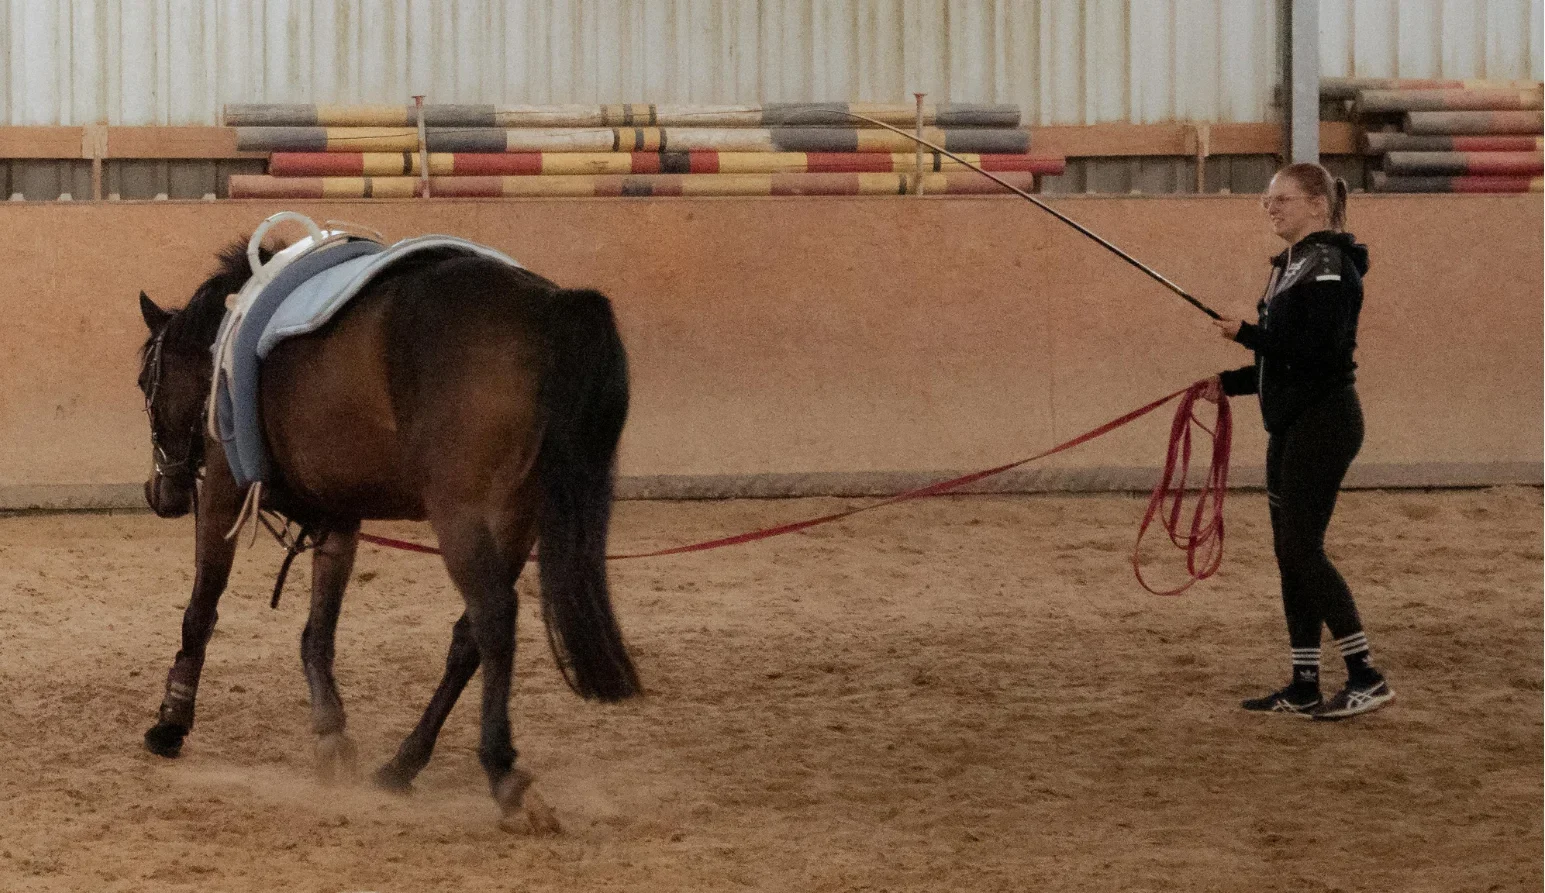
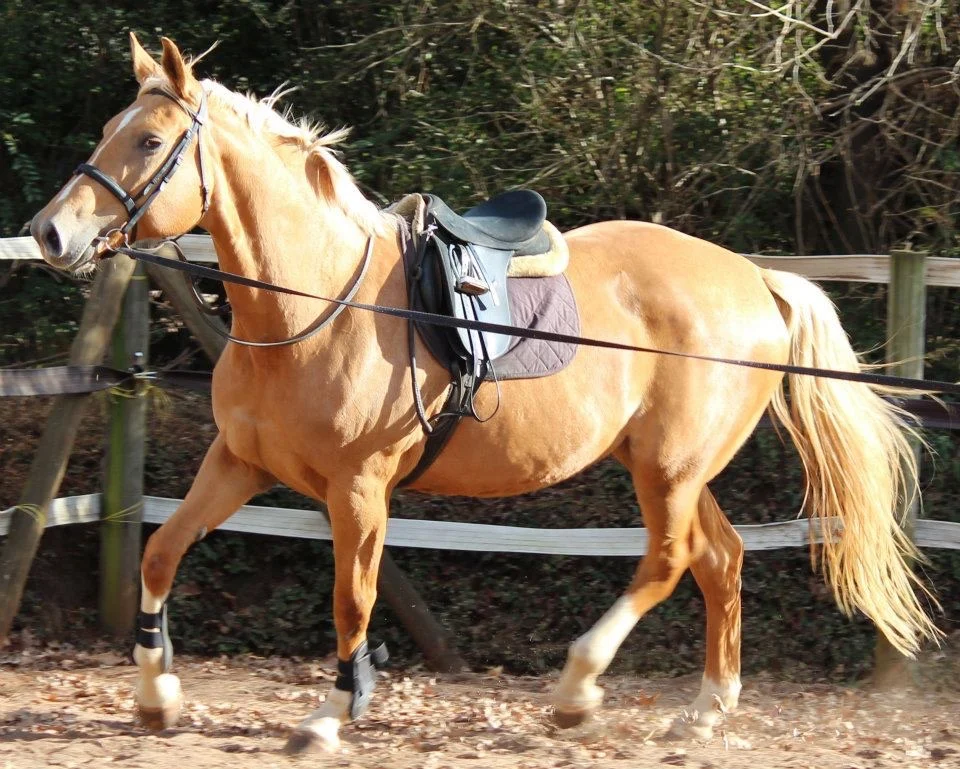
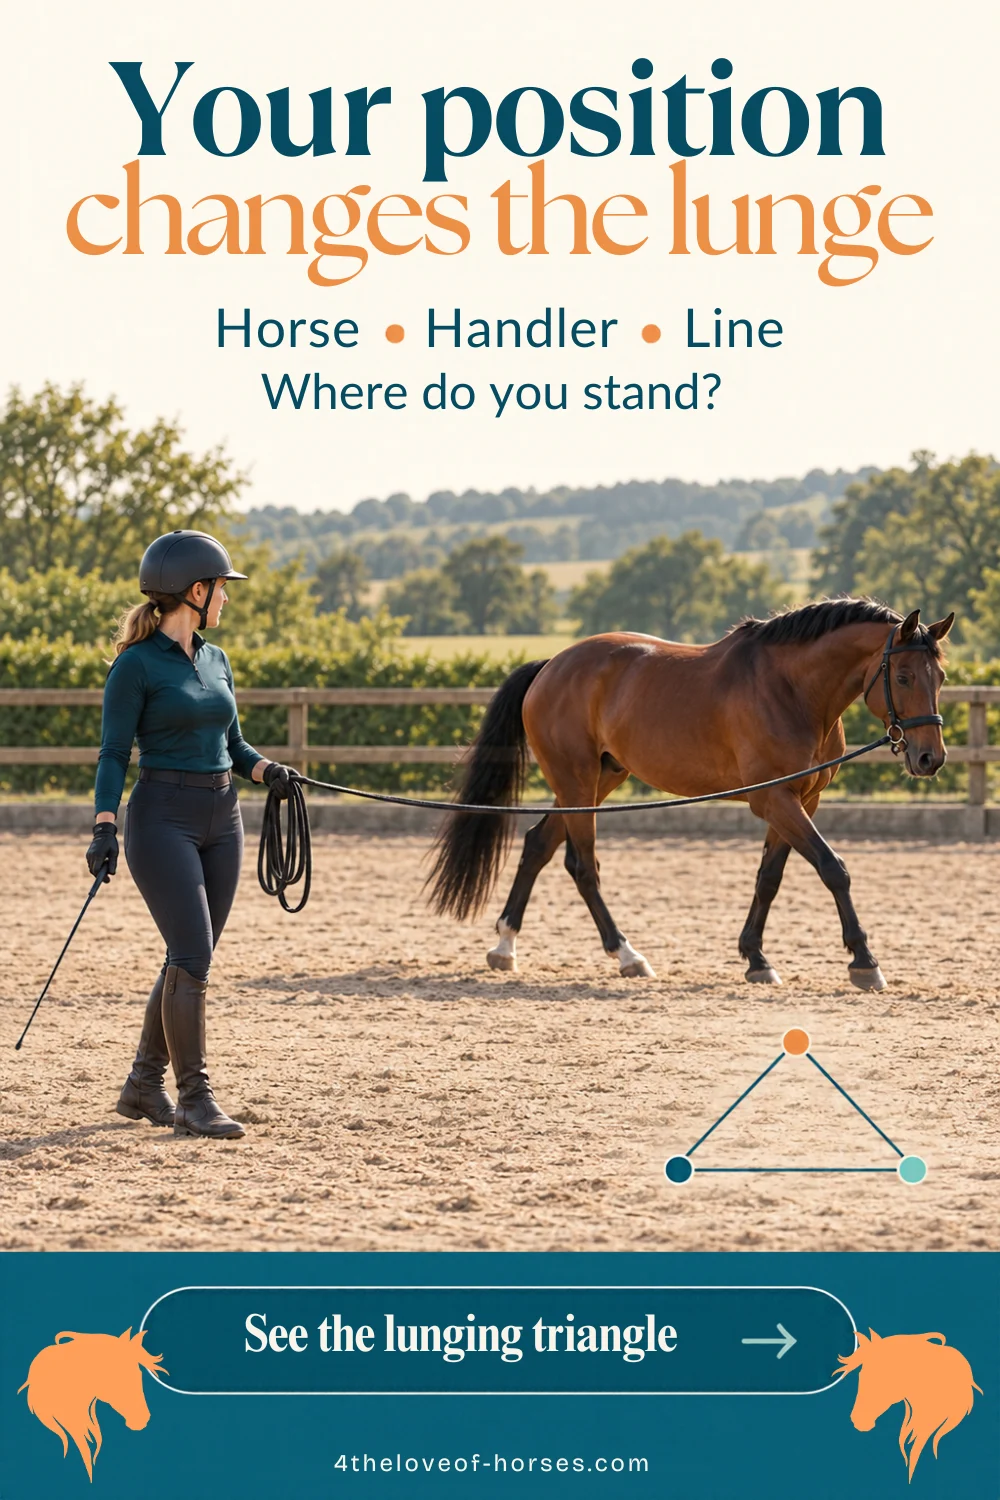
Picture a triangle: the lunge line runs from your hand to the horse’s head, the whip points from your other hand towards the hocks, and the horse is the third side. You stand at the point of the triangle, roughly level with the girth. Step slightly ahead of the girth and you “block” the horse and slow him down; drift behind and you drive him on.
Which hand does what
- The line goes in the hand the horse is travelling towards. On the left rein (horse going anticlockwise), the line is in your left hand and the whip in your right. Swap both when you change rein.
- Fold spare line in loops in the same hand, never wrapped around your hand or wrist. If the horse pulls away, the line must be able to run.
- Keep a light, elastic contact — like holding a rein, not a dog lead. A line dragging on the ground is a trip hazard for both of you.
- Pivot on one spot in the middle, turning with the horse, rather than walking your own small circle.
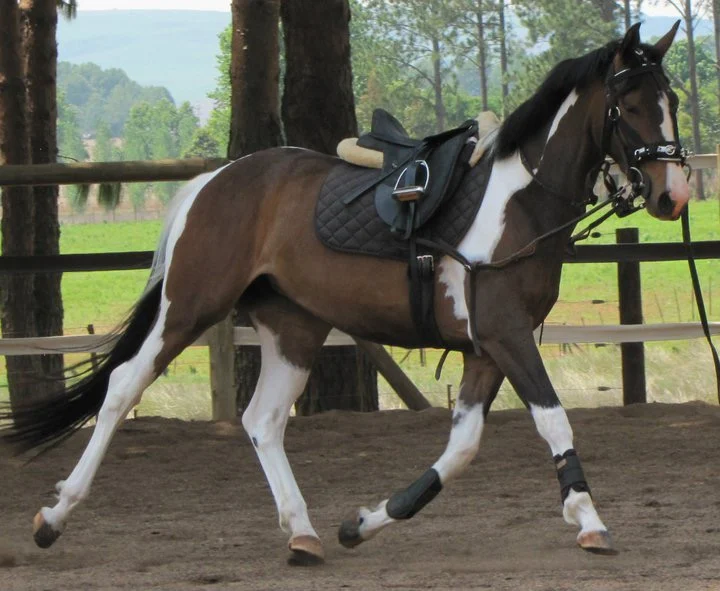
Voice commands
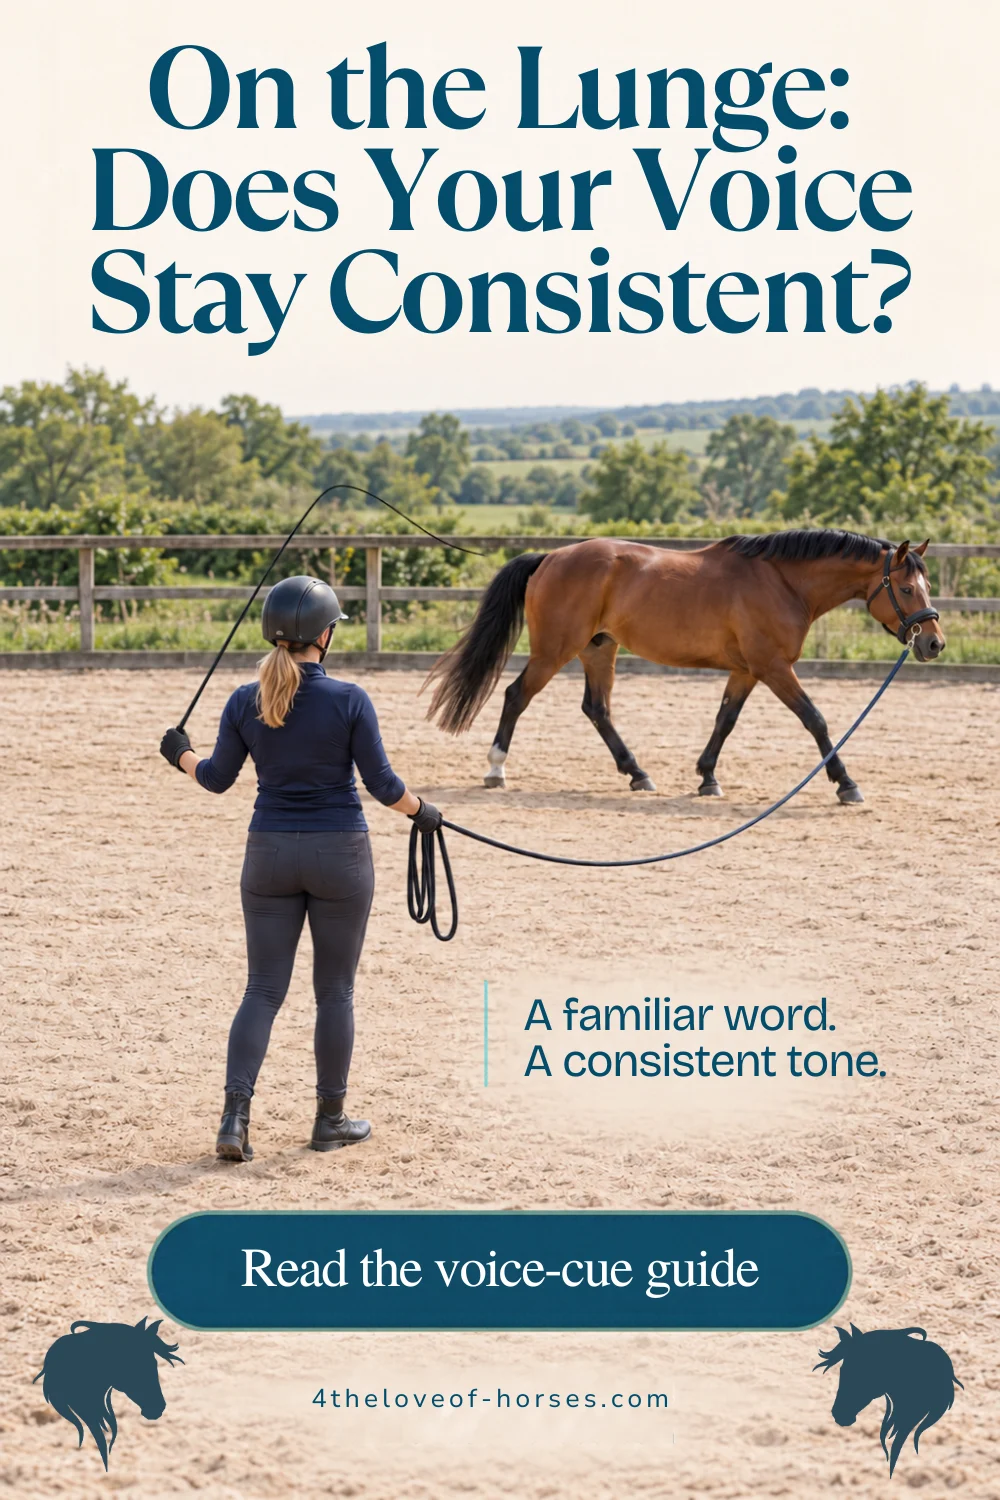
Pick your words and use exactly the same ones every time. Upward transitions get a brighter, sharper tone; downward ones a lower, longer one.
- “Walk on” — forward into walk
- “Te-rot” — up into trot
- “Can-ter” — up into canter
- “Steady” / “Easy” — keep the pace, slow the rhythm
- “Whoa” — halt, said low and drawn out
Give the voice first and the body or whip second, so the horse learns the word is the real cue.
Over time you’ll find your own versions of these commands, and learn which ones your horse really listens to. Some horses end up working almost entirely from your body language: as you become more animated, so do they, and as you breathe out and go quiet, they settle too. Most horses start by learning from your voice and your body together, and every horse finds its own balance between the two. That’s what makes the lunge such a good place to get to know your horse.
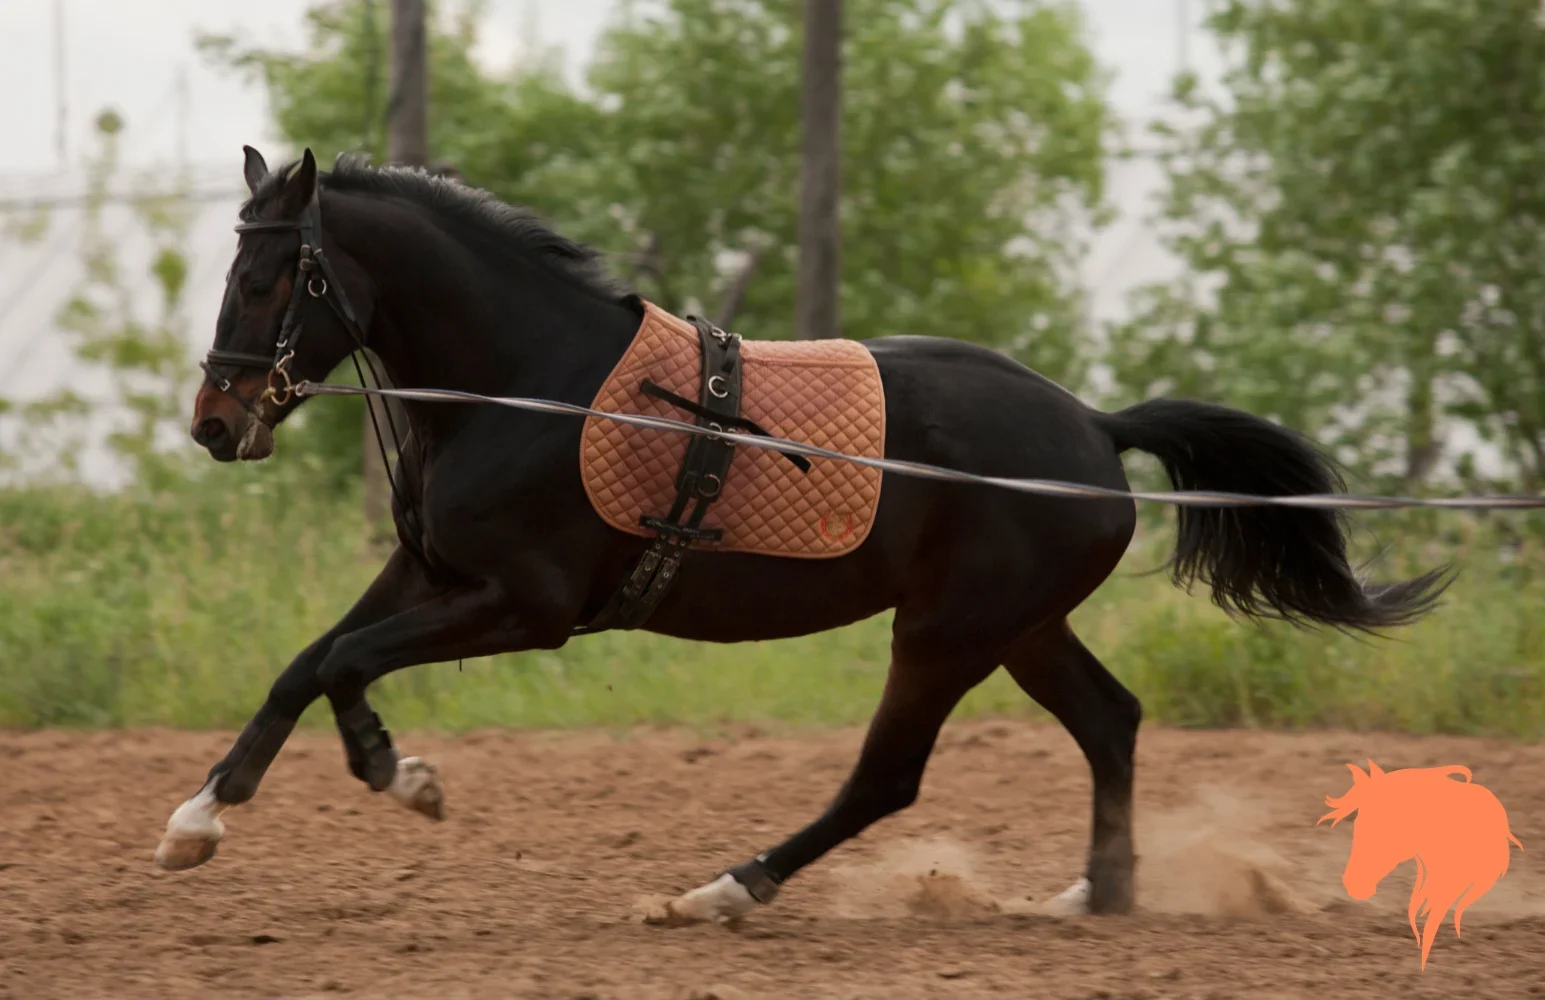
Head Up, Hollow, Rushing? What Your Horse Is Telling You
Your horse is giving you feedback all the time on the lunge. These are the signs worth acting on:
| What you see | What it usually means | What to do |
|---|---|---|
| Head high, back hollow | Tension, or not yet strong enough to carry himself | Slow the rhythm, enlarge the circle, ask for more walk–trot transitions |
| Rushing, quick short steps | Losing balance and running to stay upright | Steady voice, step slightly ahead of the girth, larger circle |
| Falling in on the circle | Dropping the inside shoulder, often from weakness or to make the work easier | Point the whip at the shoulder (no contact) and step towards it |
| Drifting out / leaning on the line | Looking for balance on your hand, or distracted | Small give-and-take on the line; don’t get into a pulling match |
| Looking to the outside | Distraction, or stiff through the inside bend | Frequent transitions to bring the focus back to you |
| Tail swishing, ears pinned | Irritation or discomfort | Check tack fit, side rein length and footing; if it persists, ask your vet |
| Ears soft, one ear on you, head lowering | Relaxed, listening and working properly | This is what you want — praise and keep it short |
Lameness Check
Lunging on a firm surface is one of the ways vets pick up subtle lameness. If your horse looks shorter on one rein than the other, or nods his head in trot, stop and get it looked at before you carry on working him.
Take This to the Arena
The free lunging guide puts the triangle, voice commands and warning signs on one printable page.
Get the Free Guide →Side Reins: Use Them Carefully
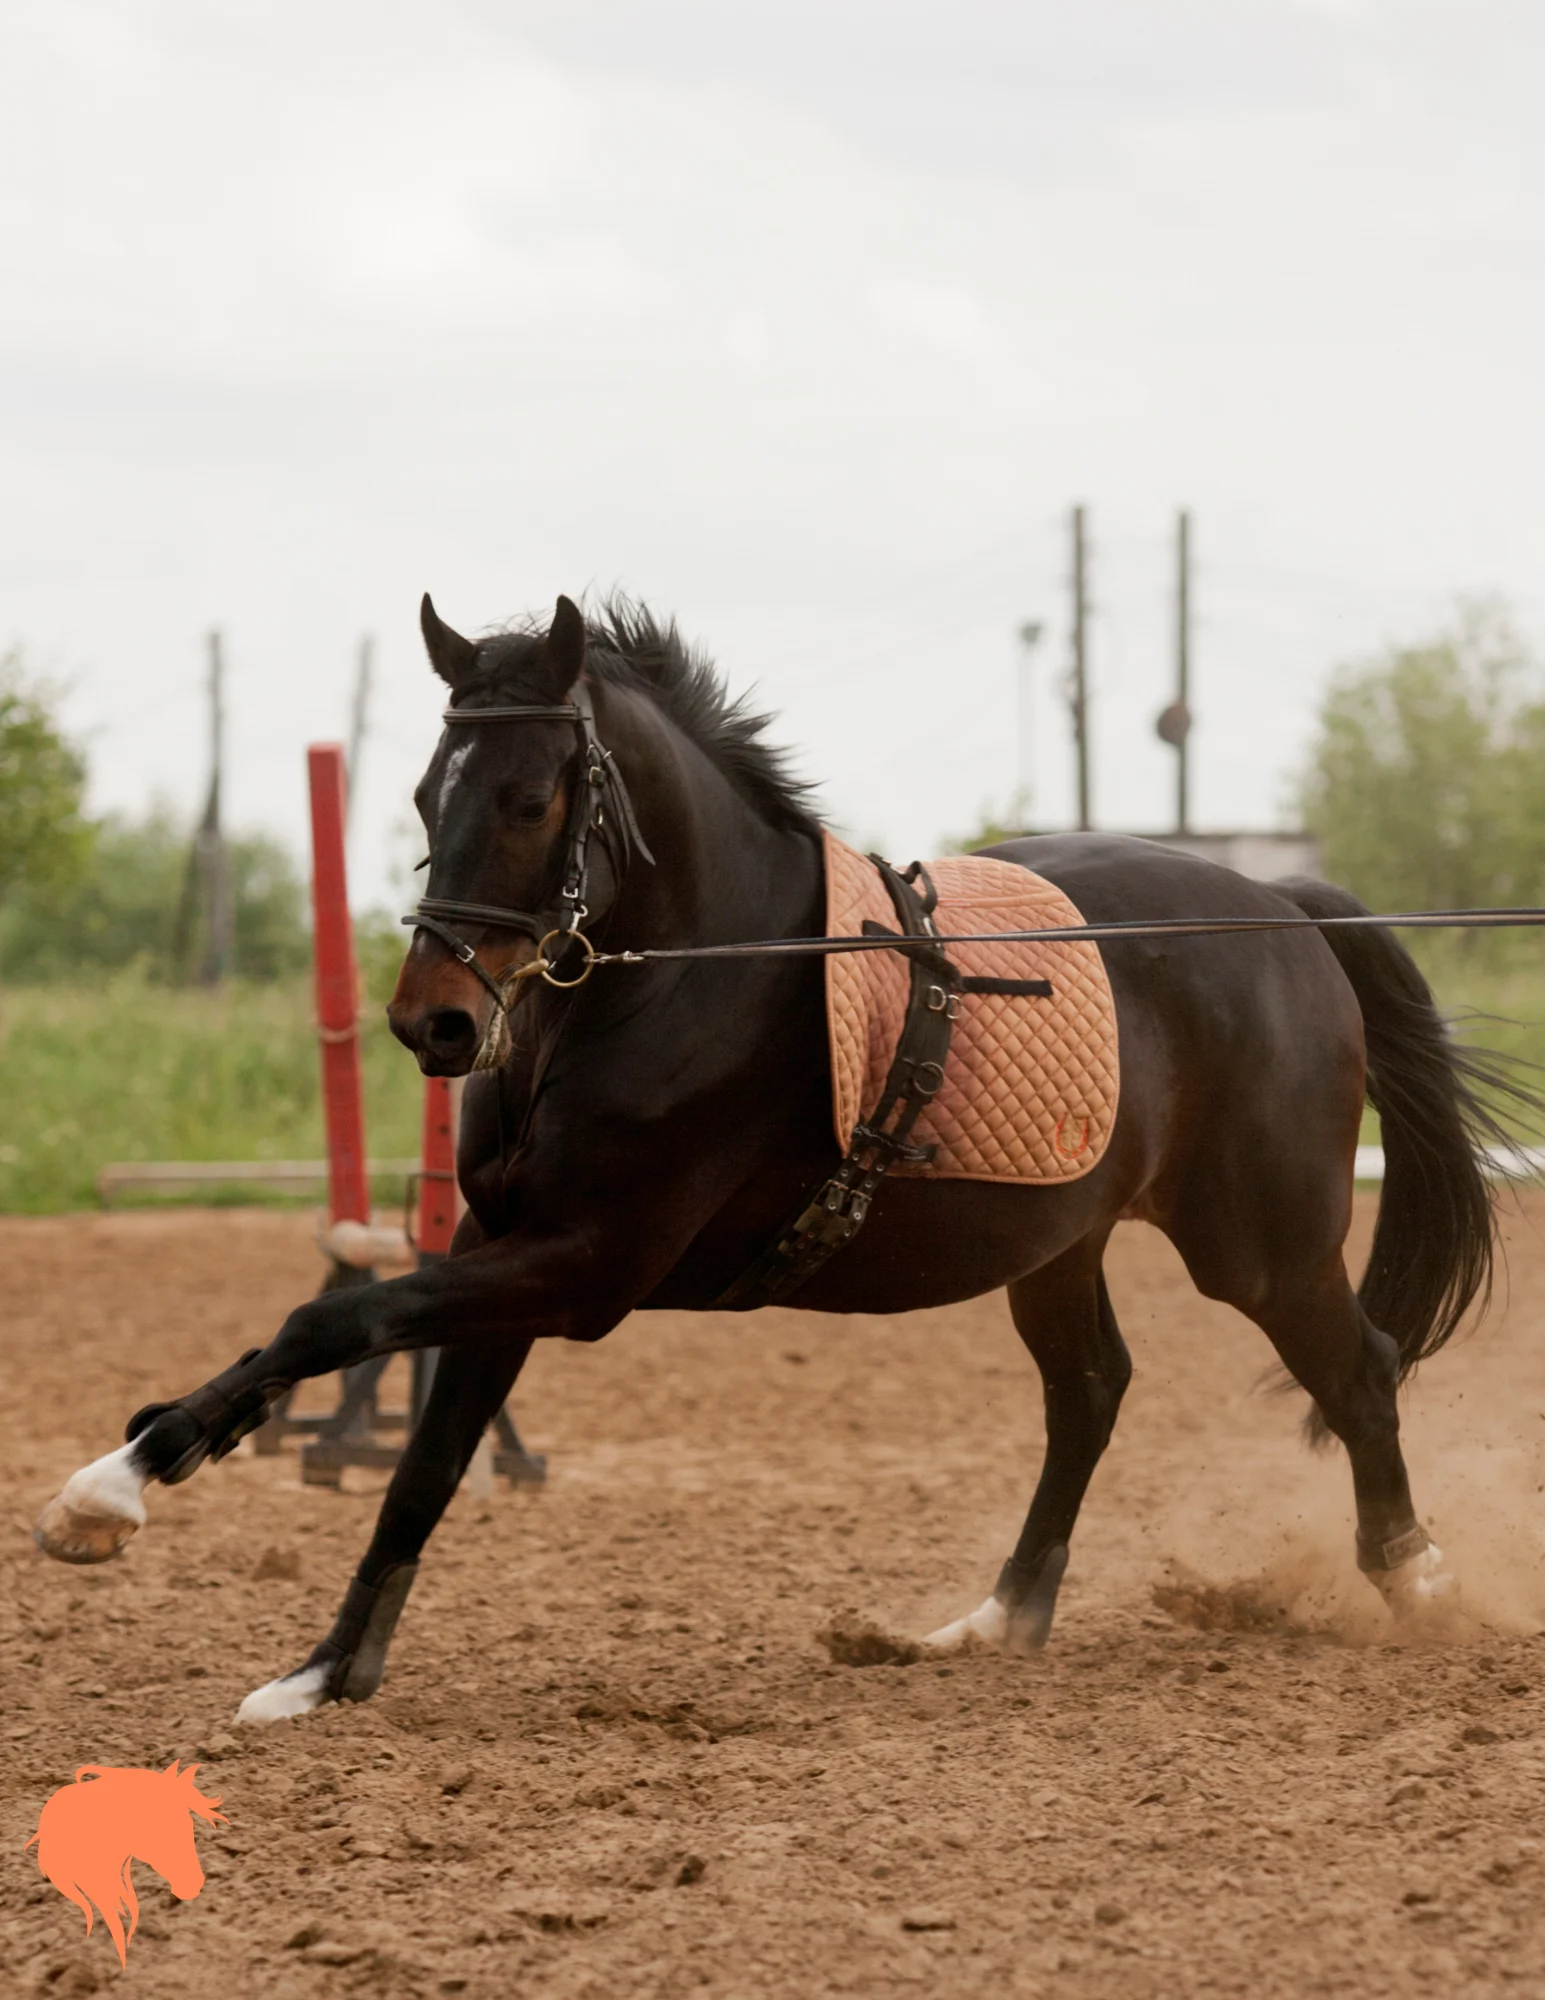
Side reins can help a horse find a steady contact and start using his back — but they’re also where a lot of damage is done.
- Only introduce them once the horse goes forward confidently on both reins without them.
- Start long. They should only come into contact when the horse lifts his head high. Shorten a hole at a time over days or weeks, not in one session.
- Keep them the same length on both sides, and never so short that the nose is pulled behind the vertical.
- Clip them on after the warm-up and off before the cool-down. Warm up and cool down in a long, low stretch.
Safety Rule
Never lead a horse with side reins attached, and never leave him standing tied in them. A horse that panics in fixed side reins can go over backwards.
My Rule on Side Reins
I never lunge with tight side reins. All I want from them is a little support to help my horse find his balance and encourage him to stretch forward and down. Side reins won’t build a topline for you. If you shorten them until your horse is overbent and behind the vertical you will build a sore, resentful horse who will hate to work.
— Jenni B
A Six-Week Plan
Every horse is different, so treat this as a shape rather than a timetable. If a week isn’t going well, repeat it.
| Weeks | Focus | Session length |
|---|---|---|
| 1–2 | Walk and trot on a large circle, both reins. Voice commands, halting on the circle, standing still. A little canter only if the horse is balanced. | 10–20 min |
| 3–4 | Walk–trot–walk transitions, steadier rhythm. Introduce side reins very long if you’re using them. | 20–25 min |
| 5–6 | A single trot pole on the circle, then two or three. Spiralling the circle slightly smaller and back out to improve balance. | 25–30 min |
For poles on the circle, start at around 1.2–1.4 m apart for trot and about 3–3.5 m for canter, measured through the middle of the poles, then adjust to your horse’s natural stride. Spacing is shorter on the inside of the circle and longer on the outside, so the horse can adjust by moving in or out.
Young, Older and Rehab Horses
Young horses
Short sessions, big circles and lots of walk. Growing joints don’t cope well with tight circles or long periods of trot and canter. Lunging a youngster is about understanding — voice, halting, staying out on the circle — not fitness. Leave side reins until much later.
Older horses
A longer walk warm-up before trotting, kinder footing, and shorter sessions more often. Many older horses stay supple and happy with a little lunging a few times a week.
Horses coming back from injury
Follow your vet’s plan exactly — circle size, how long and which paces. Some injuries shouldn’t be worked on a circle at all in the early stages. Keep a simple log of each session and how the horse moved.
Safety Checklist
- Gloves, hard hat and proper boots — every session.
- Check the line, clip, cavesson and boots before you start.
- Walk the circle first: no holes, stones, slippery or frozen patches, and footing that isn’t too deep.
- Never wrap the line around your hand.
- Stay out of kicking range — the length of your whip plus your arm is a good guide.
- Tell anyone else in the arena that you’re lunging.
- If the horse pulls away, let the line run through your gloved hands rather than being dragged. Keep your voice low and calm.
Common Mistakes Horse Owners Make
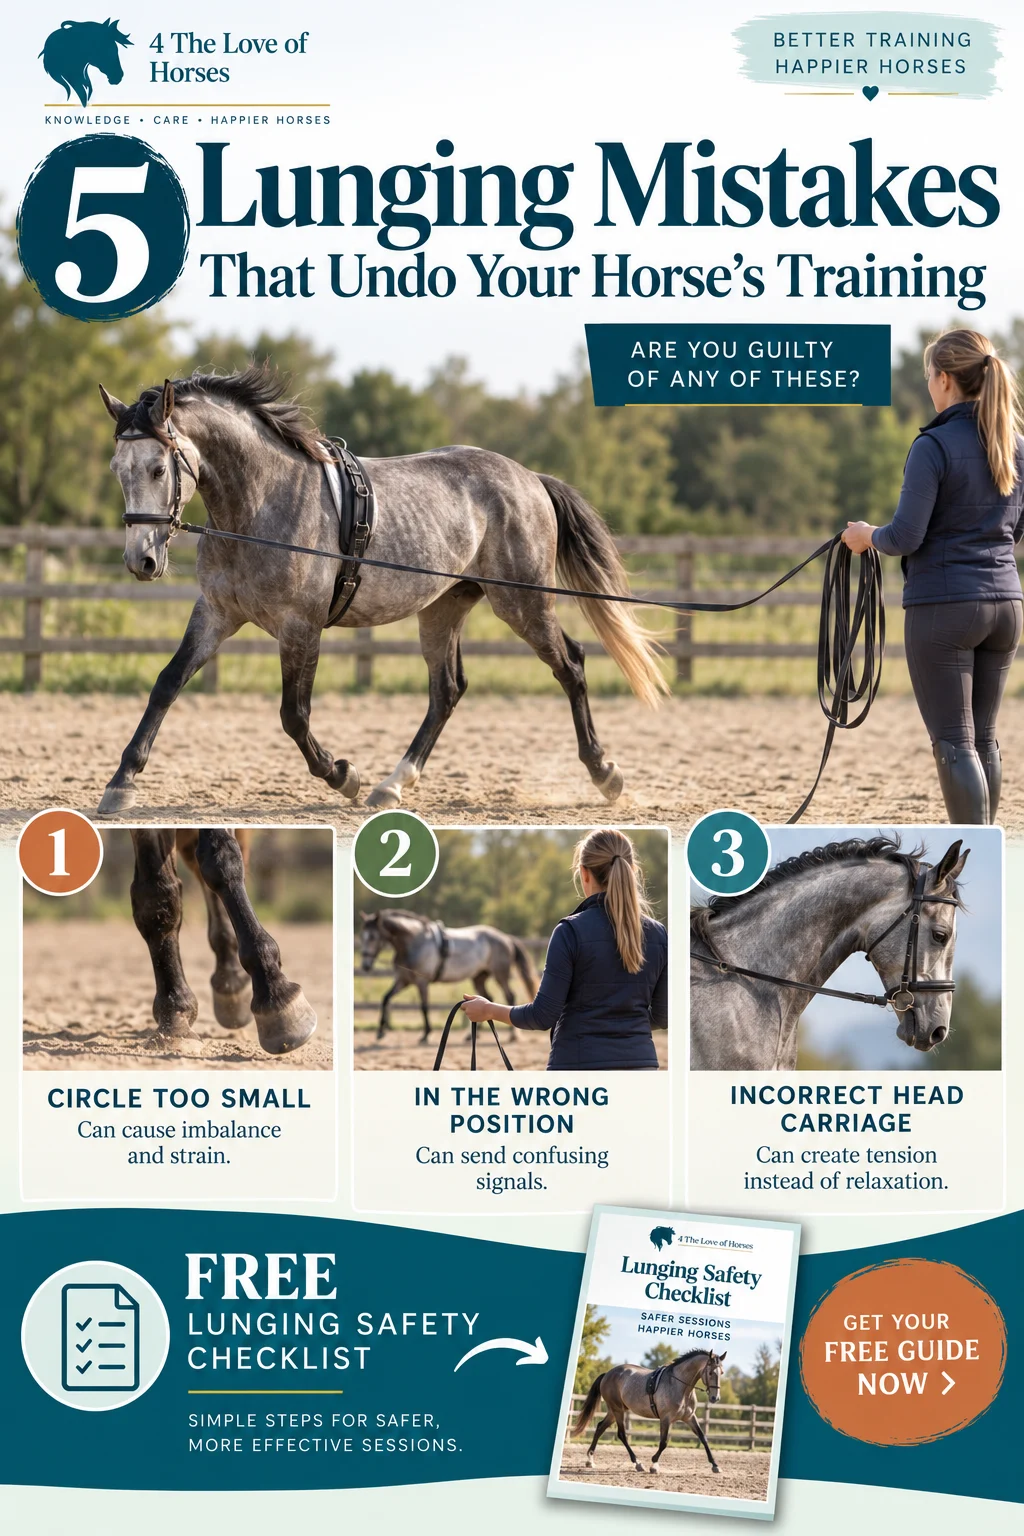
- Circles that are too small. The single biggest cause of strain on the lunge. If you can’t fit a 15–20 m circle safely, lunge less or somewhere else.
- Lunging to tire a horse out. It builds fitness, not manners, and you end up with a fitter horse that rushes.
- Doing all the work on one rein. Most horses prefer one side — which is exactly why the other side needs the work.
- Side reins too tight, too soon. They should invite a contact, not force a shape.
- Standing still while the horse falls in. Your position is your steering. Step towards the shoulder and point the whip there.
- Nagging with the whip. Constant flicking teaches a horse to ignore it. Use it clearly when you need it, then quietly point it down.
- Sessions that go on too long. Mental tiredness sets in before physical tiredness. Finish on a good transition, not when the horse is flat.
- Wrapping the line around a hand. It only takes one spook to turn that into a serious injury.
Frequently Asked Questions
How long should I lunge my horse for?
For a young or unfit horse, 10–15 minutes including walk is plenty. A fit, established horse can work for 20–30 minutes. Longer than that on a circle puts more strain on the legs than most horses need.
How often can I lunge?
Two or three times a week works well alongside riding for most horses. If lunging is the horse’s only exercise, keep sessions short and mix in hacking, in-hand walking or turnout.
Should I lunge before I ride?
A few minutes on the lunge can tell you how your horse is feeling and help a fresh horse settle, but it shouldn’t become a way to wear him out before you get on. See our guide to building a well-rounded exercise schedule.
What comes after lunging?
Long-lining. It builds on the same voice commands but gives you two reins and much more control over bend and direction. Our long-lining guide for young horses picks up where this one ends.
The best lunging sessions look boring from the outside: a calm horse, a steady rhythm, a big circle and a handler who barely seems to be doing anything.
Your Free Lunging Guide
Equipment, voice commands, warning signs and a session plan, ready to print for the stable or arena.
Download Free →Related Training Guides
Additional Resources for Mastering Lunging Techniques
Professional Organizations and Certifications
The British Horse Society (BHS) offers extensive training resources and certification programs that include detailed instruction on lungeing techniques. Their progressive training system provides structured learning opportunities for handlers at all levels, from complete beginners to advanced trainers.
The United States Dressage Federation (USDF) provides educational materials and workshops specifically focused on lungeing as part of their training methodology. Their instructor certification program includes detailed sections on proper lungeing techniques and theory.
The German National Equestrian Federation (FN) publishes comprehensive training materials based on classical principles, including detailed sections on lungeing methodology. Their systematic approach to horse training has influenced equestrian education worldwide.