

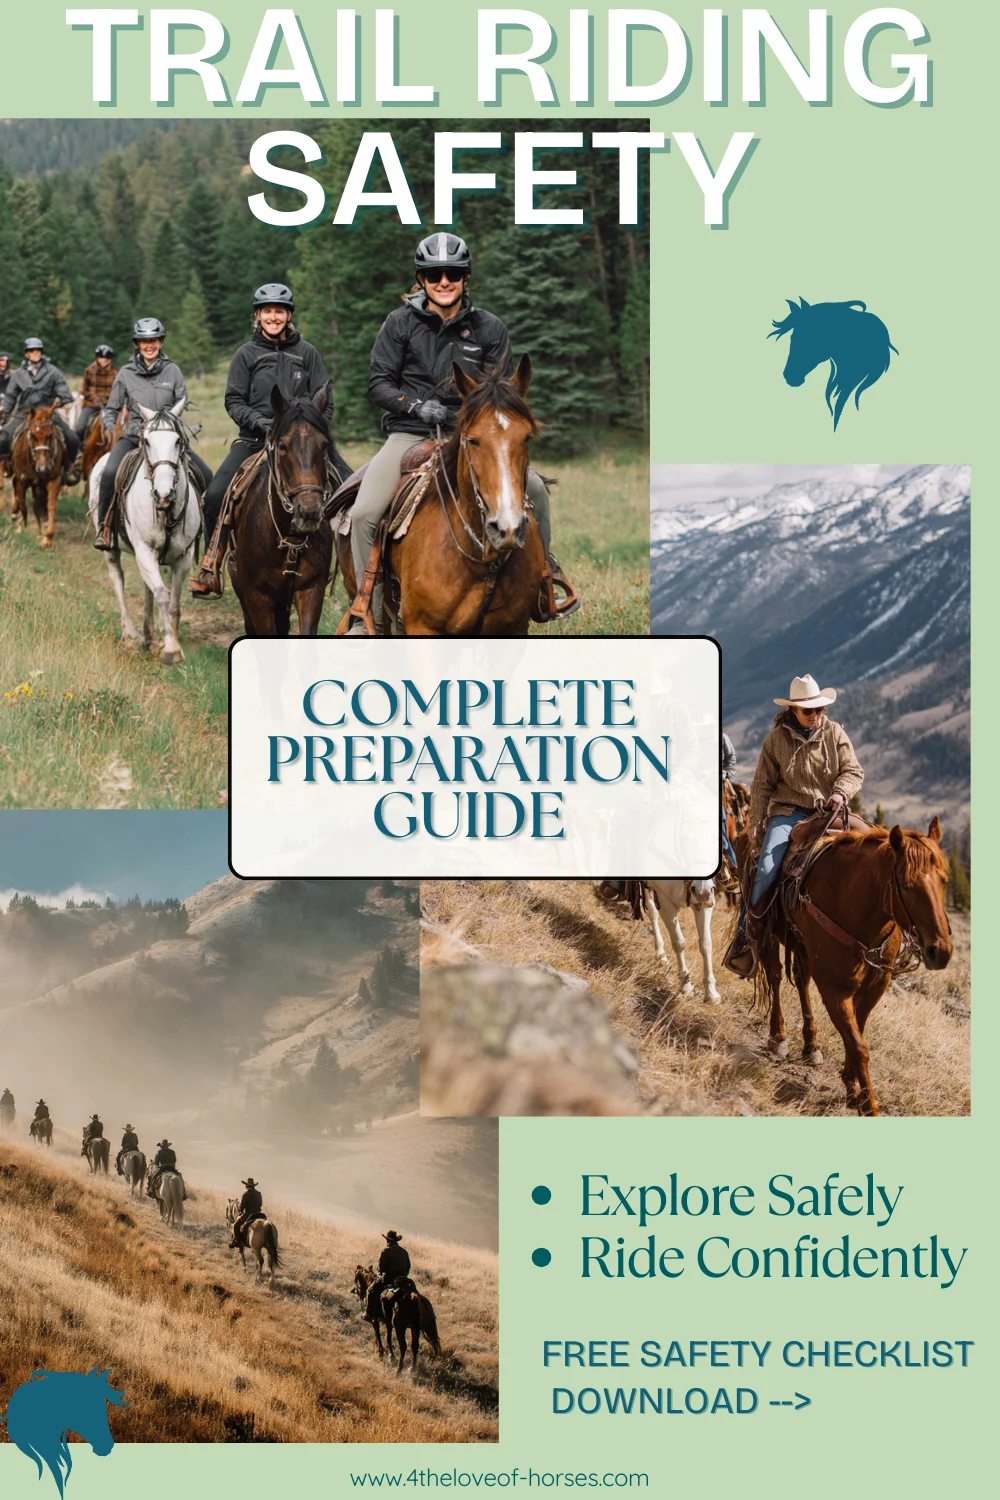
Trail Riding Safety: 10 Essential Tips Every Rider Needs to Know
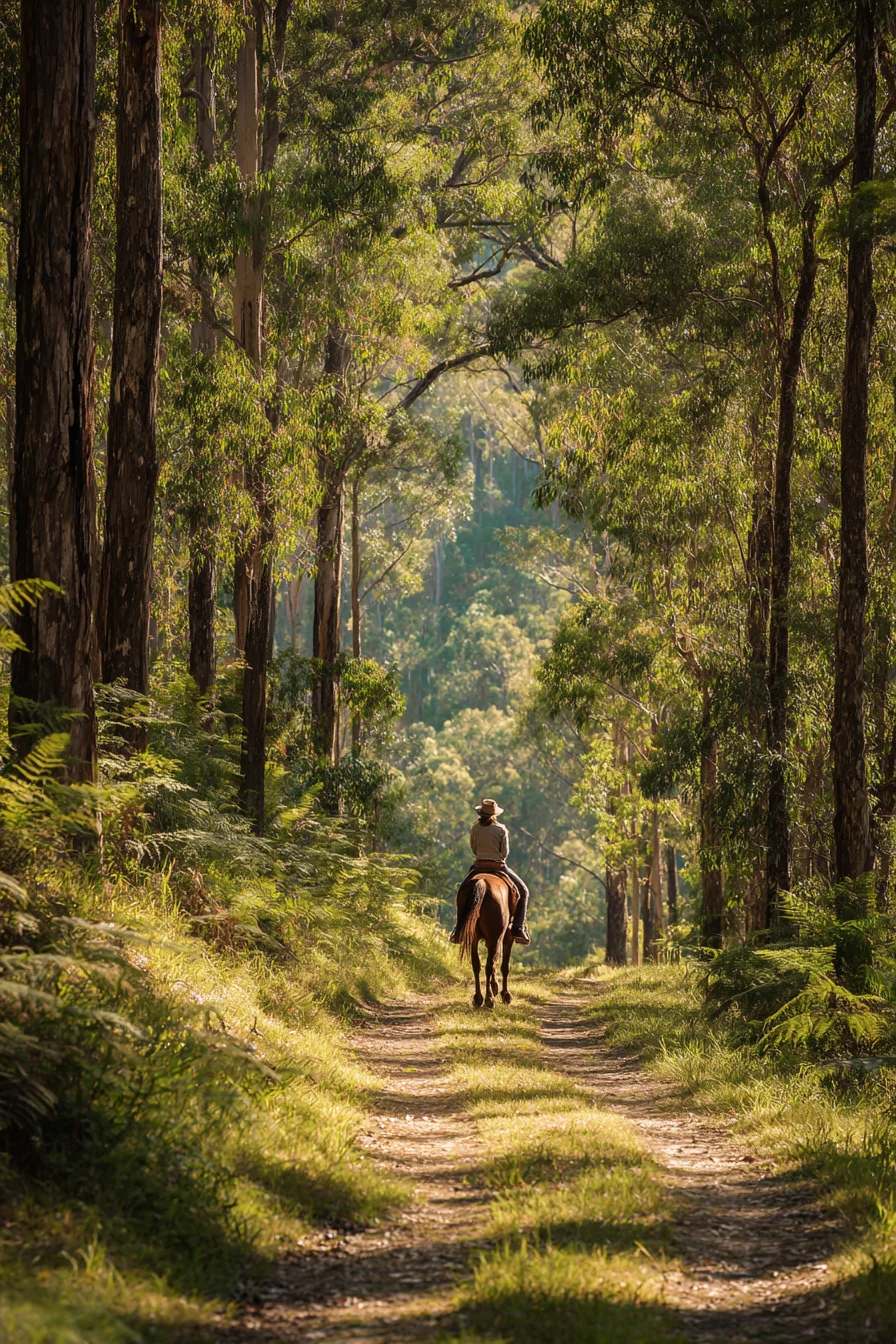
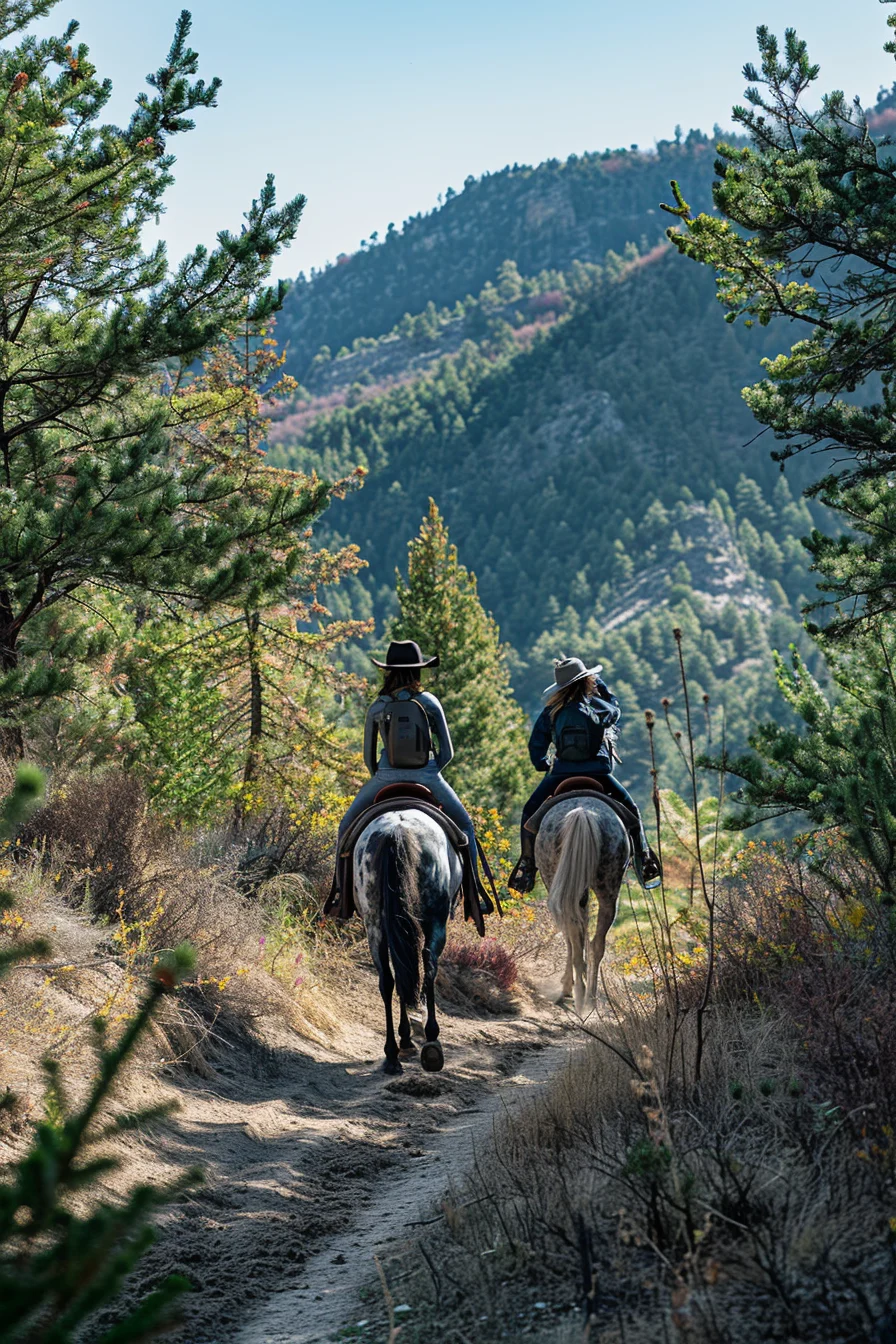
There’s nothing quite like the freedom of trail riding—the wind in your hair, your horse’s ears pricked forward with interest, and miles of beautiful terrain stretching ahead. But with that freedom comes responsibility. Every year, preventable trail riding accidents happen because riders weren’t adequately prepared. The good news? Most trail emergencies can be avoided with proper planning and safety awareness.
After 45 years of trail riding across diverse terrain—from gentle wooded paths to challenging mountain trails—I’ve learned that the riders who have the best experiences aren’t necessarily the most skilled. They’re the most prepared. Here are the 10 essential safety tips that will help you enjoy confident, worry-free trail rides.


🌲 Free Download: Trail Riding Safety & Preparation Guide
Get your free 11-page guide with pre-ride checklists, equipment for different ride lengths, first aid essentials, obstacle navigation tips, emergency protocols, and trail etiquette.
Download Your Free Safety Guide →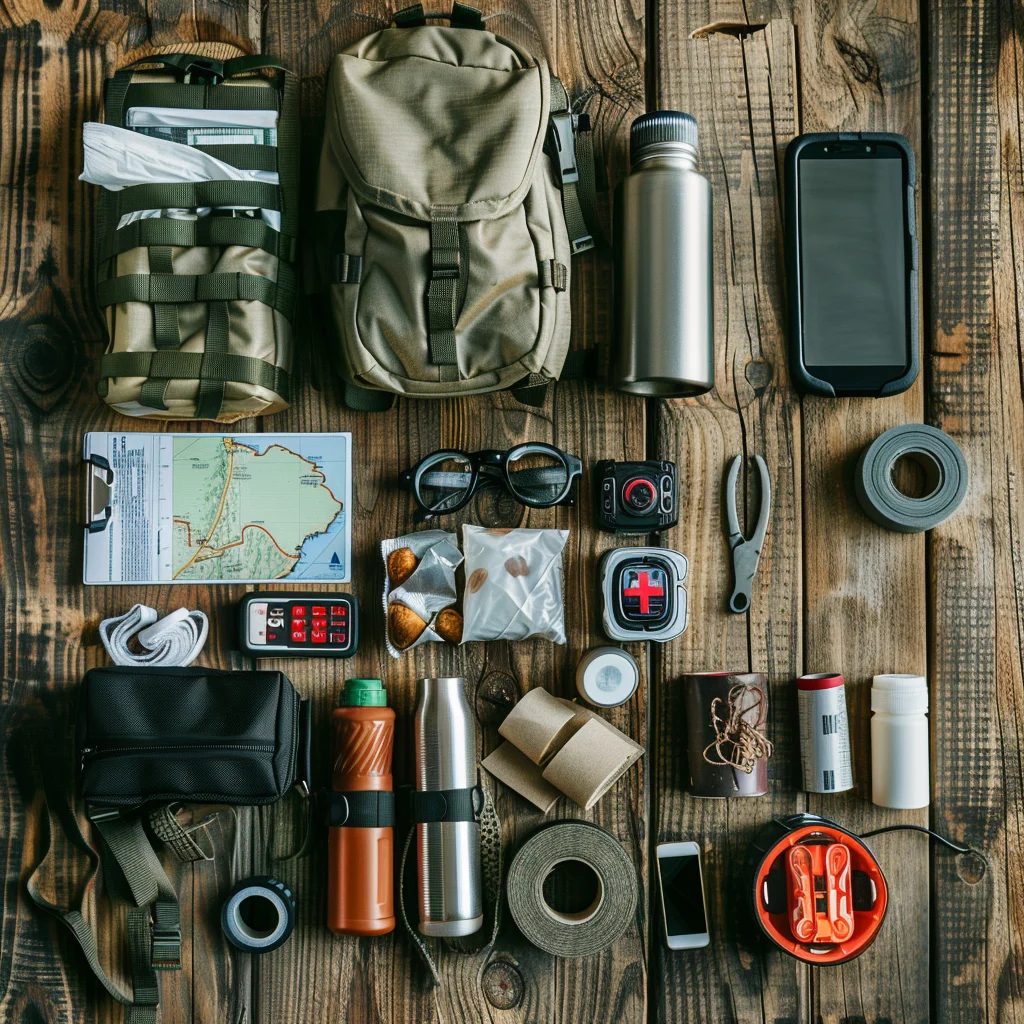
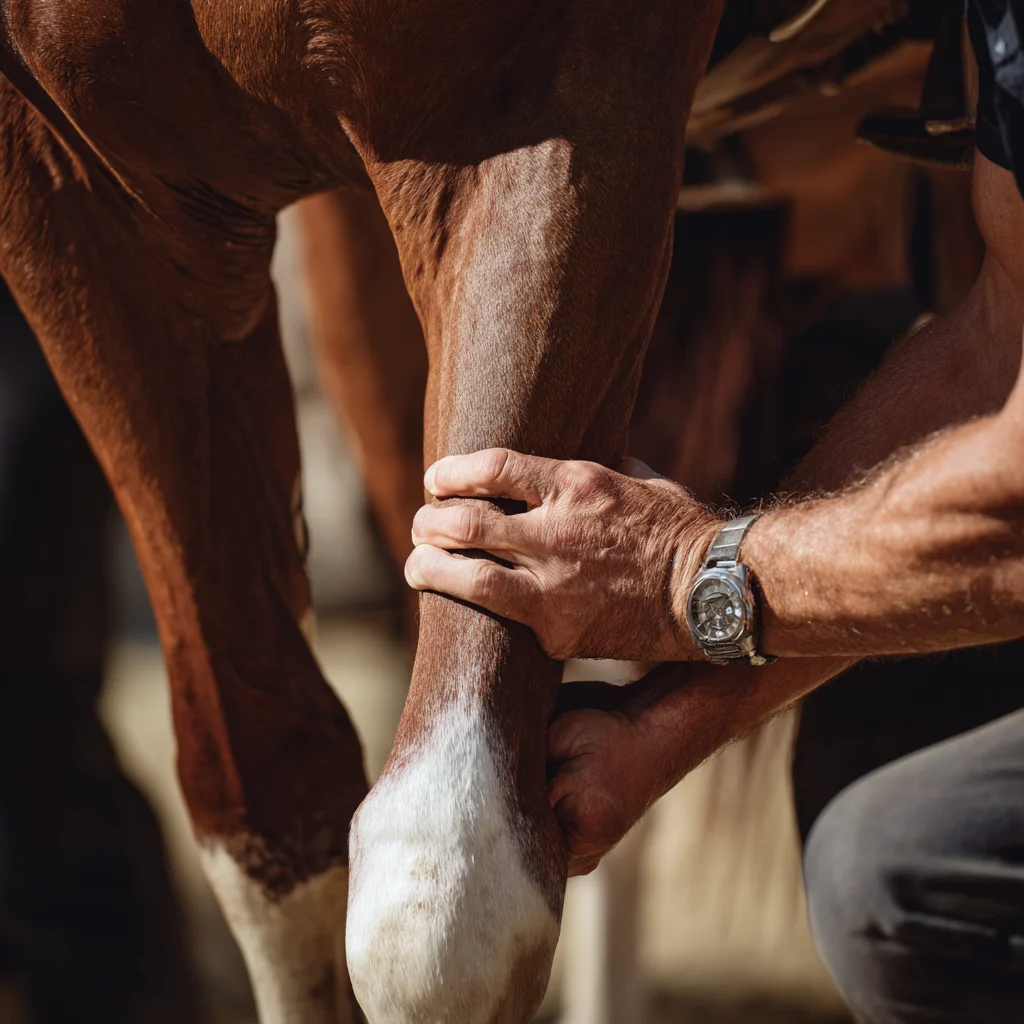
1. Never Skip the Pre-Ride Safety Check
This is the foundation of trail riding safety, yet it’s often rushed or skipped entirely. Before every single ride—no matter how familiar the trail—complete a systematic safety check.
Check Your Horse:
- Is your horse sound? Look for any signs of lameness, heat in the legs, or swelling
- Are the hooves clean and shoes secure (if shod)?
- Is your horse fit enough for the planned ride length?
- Has your horse eaten and drunk normally? Check for any signs of colic
- Are there any cuts, scrapes, or injuries that need attention?
Inspect Your Tack:
- Check every piece of leather for cracks, dry rot, or weak spots
- Ensure your girth/cinch has no worn areas
- Test all buckles, snaps, and hardware
- Verify your saddle fits properly with no pressure points
- Check that stirrup leathers/fenders are in good condition
Think of this like a pilot’s pre-flight checklist. It takes just a few extra minutes, but it can prevent disaster. I’ve seen too many riders have tack failures on the trail—broken reins, failed girths, snapped stirrup leathers—all preventable with a quick inspection.
2. Always Tell Someone Where You’re Going
This simple step could save your life. Before every ride, tell someone your planned route, expected return time, and what to do if you’re not back.
Leave behind:
- Trail name and location
- Your planned route
- Departure and expected return times
- Emergency contact information
- Description of your horse and your vehicle
Set a specific “call for help” time. For example: “If I’m not back by 5 PM, wait one hour, then call my cell. If no answer, contact the trail management or local authorities.”
I make it a habit to text my husband a photo of the trailhead sign and a quick message: “Heading out on the Blue Ridge Trail, should be back by 3 PM.” It takes 30 seconds and gives him concrete information if something goes wrong.
🌲 Download your free trail riding safety guide with complete checklists for pre-ride preparation, equipment lists, obstacle navigation, and emergency protocols.
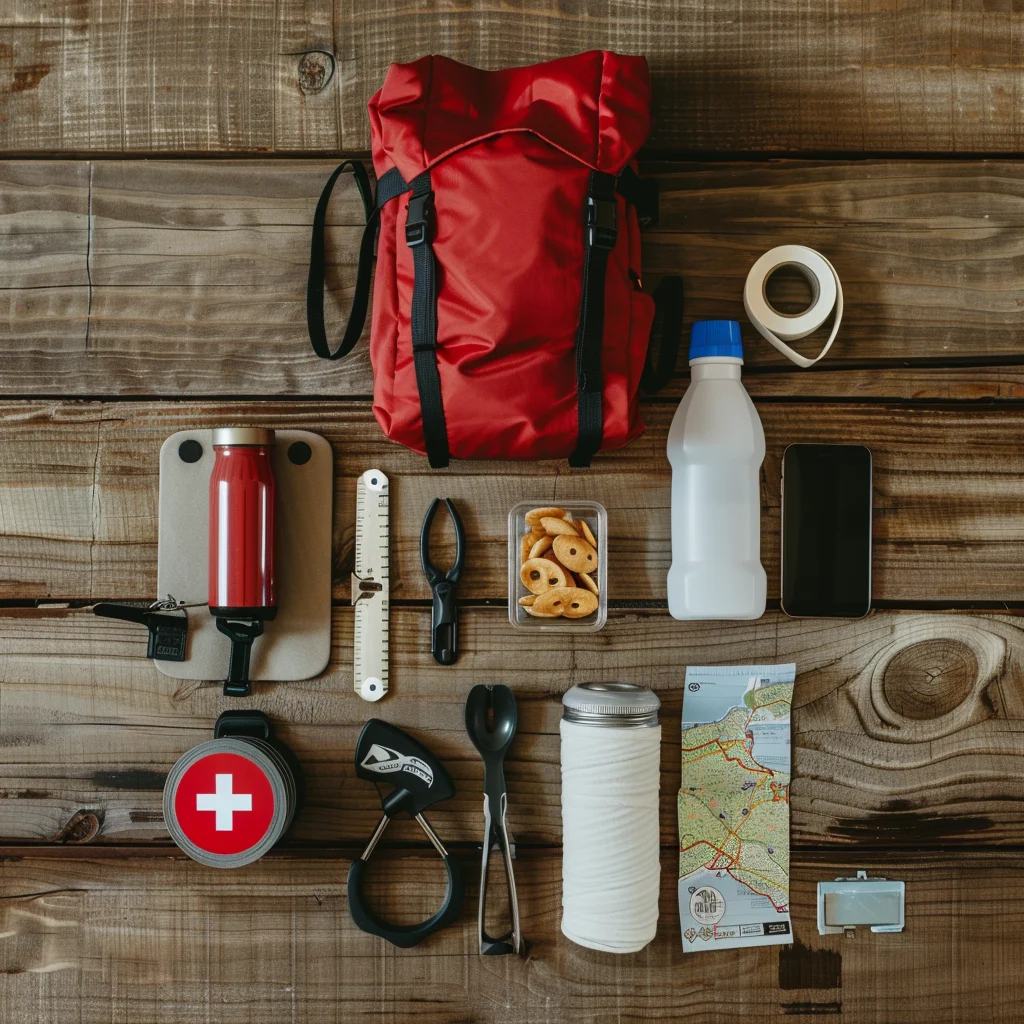
3. Pack Appropriately for Your Ride Length
What you need varies dramatically based on how long you’ll be out. A one-hour ride close to home requires minimal gear, but an all-day adventure demands comprehensive preparation.
For SHORT rides (1-2 hours):
- Cell phone in waterproof case
- Hoof pick
- Small first aid kit
- Water bottle
- Knife or multi-tool
- Small snack
For MEDIUM rides (2-4 hours), add:
- More substantial first aid kit
- Collapsible water bucket for your horse
- Lunch and extra snacks
- Map or GPS device
- Rain jacket (even if forecast is clear)
- Sunscreen and bug spray
- Duct tape (wrapped around your water bottle or hoof pick)
- Extra lead rope
For ALL-DAY rides (4+ hours), also pack:
- 3+ liters of water
- Space blanket (emergency shelter)
- Headlamp or flashlight (in case you’re delayed after dark)
- Fire starter materials
- Water purification tablets
- Portable phone charger
- Whistle for signaling
- Extra layers of clothing
The biggest mistake I see riders make is over-packing for short rides or under-packing for long ones. Match your gear to your ride length, and remember: if you can’t comfortably carry something yourself for a mile, it’s too heavy for your horse to carry all day.
4. Know How to Handle Common Trail Obstacles
Trail obstacles that seem minor can become dangerous if approached incorrectly. Here’s how to navigate the most common challenges:
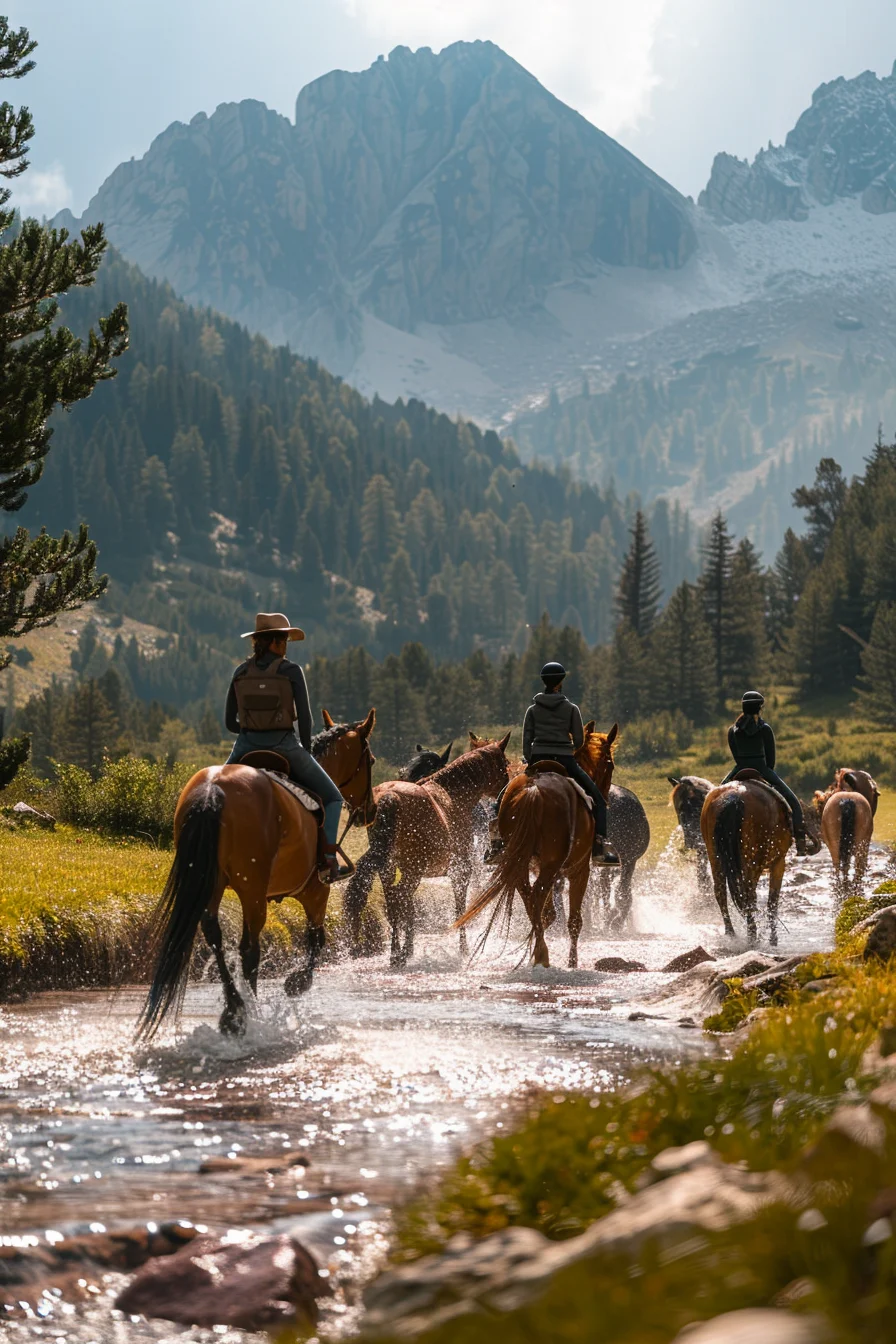
Water Crossings:
Approach at a confident walk, maintain leg contact, and keep your horse straight. Don’t let them stop mid-crossing to drink or paw. If following other horses, maintain spacing—don’t crowd the horse ahead. After crossing, check your horse’s legs for any cuts from underwater hazards.
⚠ Water Safety: Never cross fast-moving water above your horse’s knees. Avoid crossings after heavy rain when water may be deeper or faster. Watch for submerged rocks and unstable footing.
Bridges:
Check the bridge surface first—no loose boards or gaps. Approach at a steady walk (don’t hesitate), keep your horse straight down the center, and maintain a consistent pace. Don’t rush or let your horse speed up. Stay seated and balanced—resist the urge to lean forward.
Steep Terrain:
Going uphill: Lean forward and grab mane if needed. Give your horse a loose rein so they can use their neck for balance. Let them choose their own pace—usually a slow, steady walk. Stay straight rather than zigzagging.
Going downhill: Sit back slightly but stay balanced. Keep reins loose so your horse can use their head and neck for balance. Go slow and let your horse think about foot placement. On very steep sections, dismount and lead.
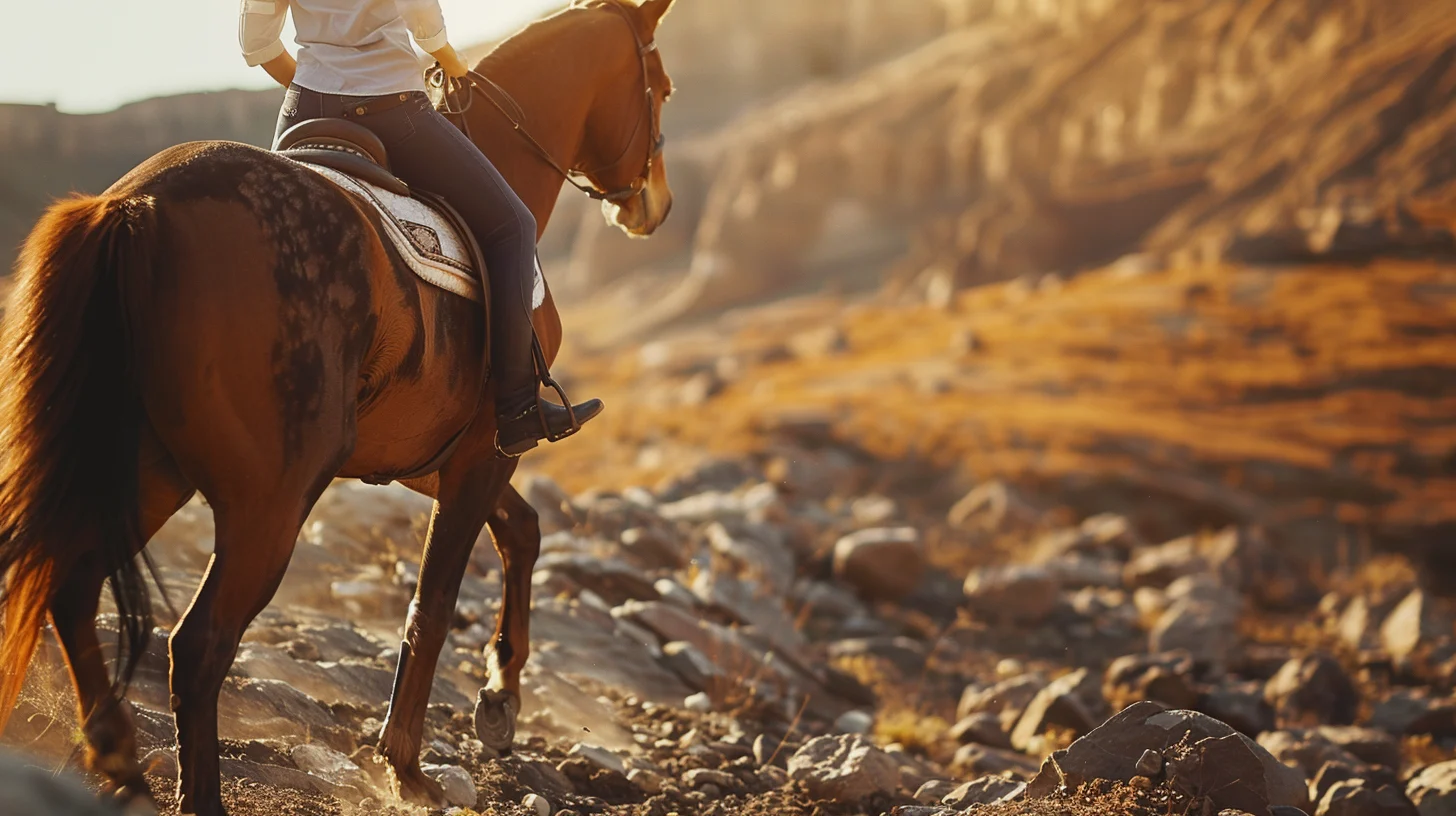
Rocky Terrain:
Slow to a walk and let your horse pick their way carefully. Stay balanced in the center of your saddle with a loose rein—your horse needs to see the footing. Trust their instincts about where to step. After rocky sections, check hooves for lodged stones.
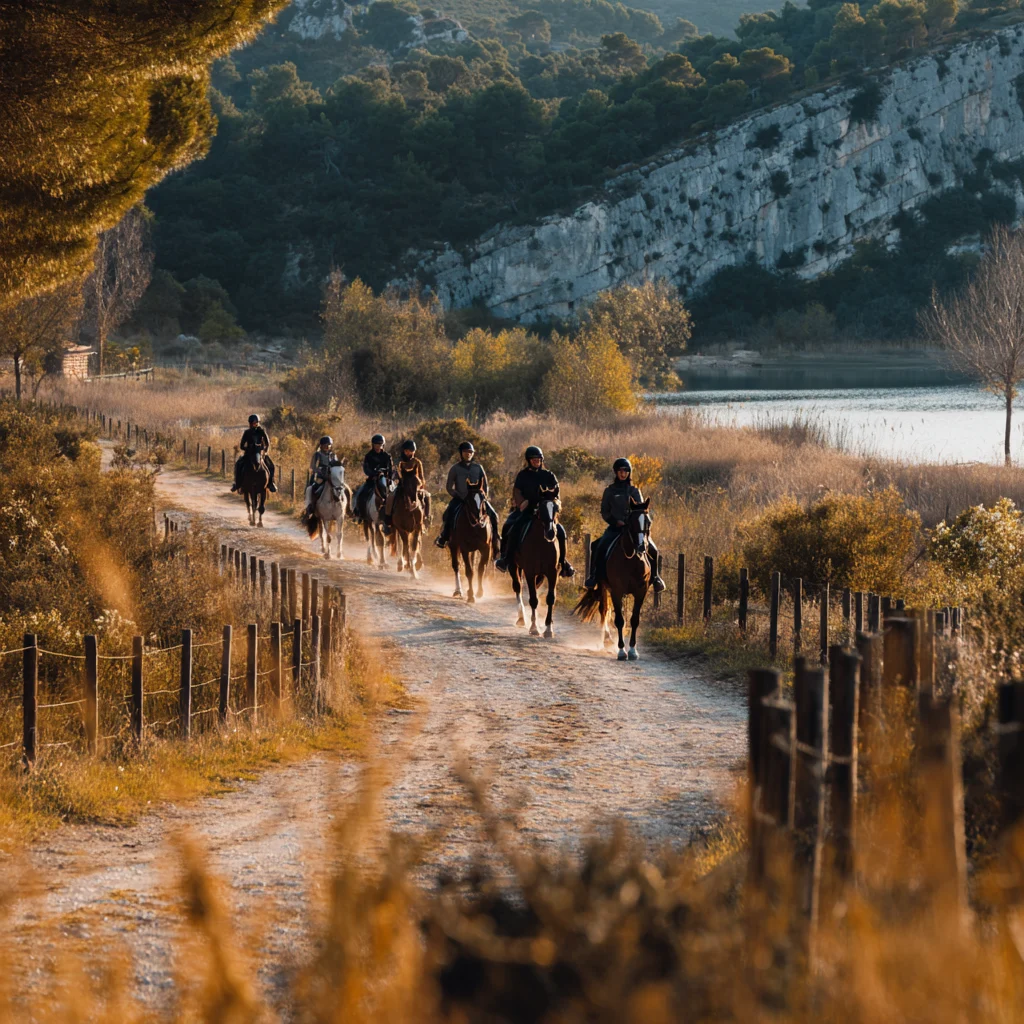
5. Master Trail Etiquette
Most trails are shared-use, meaning you’ll encounter hikers, mountain bikers, and other horseback riders. Following proper etiquette ensures everyone’s safety and preserves trail access for equestrians.
Right of Way Rules:
- Horses have right of way over hikers and bikers (but always prioritize safety over rules)
- Uphill traffic has right of way over downhill traffic
- Larger groups have right of way over smaller groups/solo riders
When encountering hikers: Greet them early so they know you’re there. Most will step aside. Thank them politely. Talk calmly throughout the encounter—this helps nervous horses and reassures pedestrians.
When encountering mountain bikers: Ask them to slow down and approach at a walk. Bikes can startle horses with their speed and unusual appearance. Most bikers are respectful if you communicate clearly.
When passing other riders: Always ask permission: “May I pass on your left?” Wait for confirmation before proceeding. Pass at a walk (never trot or canter), allow plenty of space (minimum one horse length), and thank the other rider after passing.
General courtesy:
- Stay on designated trails—don’t create new paths
- Walk through muddy areas (going around widens trail damage)
- Scatter manure off the trail when possible
- Pack out ALL trash—yours and any you find
- Keep noise levels down (respect wildlife and other users)
- Leave gates as you found them (open or closed)
Remember: Your behavior represents all equestrians. Poor trail etiquette can result in trails being closed to horses. Every ride is an opportunity to be a good ambassador!
Trail Safely & Confidently
Complete safety guide with checklists, equipment lists, emergency protocols, and obstacle navigation tips
6. Carry Comprehensive First Aid for Horse and Human
A well-stocked first aid kit isn’t optional—it’s essential. I’ve used mine more times than I can count, for everything from a rider’s scraped knee to a horse’s unexpected cut.
For your horse, include:
- Sterile gauze pads (4×4 inch) – at least 6
- Vet wrap (2-3 rolls)
- Antiseptic wound spray
- Hoof pick
- Thermometer (normal temp is 99-101°F)
- Disposable gloves
- Scissors or EMT shears
- Your veterinarian’s phone number
For yourself, pack:
- Adhesive bandages (various sizes)
- Gauze pads and medical tape
- Antiseptic wipes
- Pain reliever (ibuprofen or acetaminophen)
- Antihistamine (Benadryl for allergic reactions)
- Moleskin for blisters
- Tweezers for splinters or ticks
- Emergency contact card with your medical info
Store everything in waterproof bags organized by category. Label each bag clearly so you can find what you need quickly in an emergency.
7. Know What to Do in Common Emergencies
The best time to learn emergency protocols is before you need them. Here are the most common trail emergencies and how to handle them:
If Your Horse Goes Lame:
- Stop immediately—never ride a lame horse
- Dismount and check hooves for stones or objects
- Look for loose or lost shoes
- Check legs for cuts, heat, or swelling
- If it’s minor (like a stone), remove it and walk slowly home
- If lameness persists, call for trailer pickup
- Apply a hoof boot if you have one and must walk out
If You Fall Off:
- Stay down initially and assess for injuries
- Don’t try to hold reins while falling
- Check yourself systematically before getting up
- If you suspect a head injury, don’t remount—call for help
- Catch and check your horse before remounting
- If uninjured, remount quickly before your horse wanders
If You Get Lost:
- STOP—don’t wander further when disoriented
- Stay calm (panic makes everything worse)
- Try to retrace steps to last known landmark
- Check your phone’s GPS if you have service
- Call for help and share your location
- If no service, move to higher ground
- Follow water downhill (usually leads to civilization)
- If dark is approaching, stay put rather than wander
- Use your whistle (3 blasts = distress signal)
⚠ WHEN TO CALL 911:
- Serious injury to rider (head trauma, broken bones, severe bleeding)
- Severe horse injury requiring immediate vet care
- Lost with darkness approaching and no safe shelter
- Medical emergency (heart attack, severe allergic reaction)
- Trapped by flood, fire, or natural disaster
💡 Safety Tip: Download your trail riding safety guide for complete pre-ride checklists and emergency protocols that could save your life on the trail.
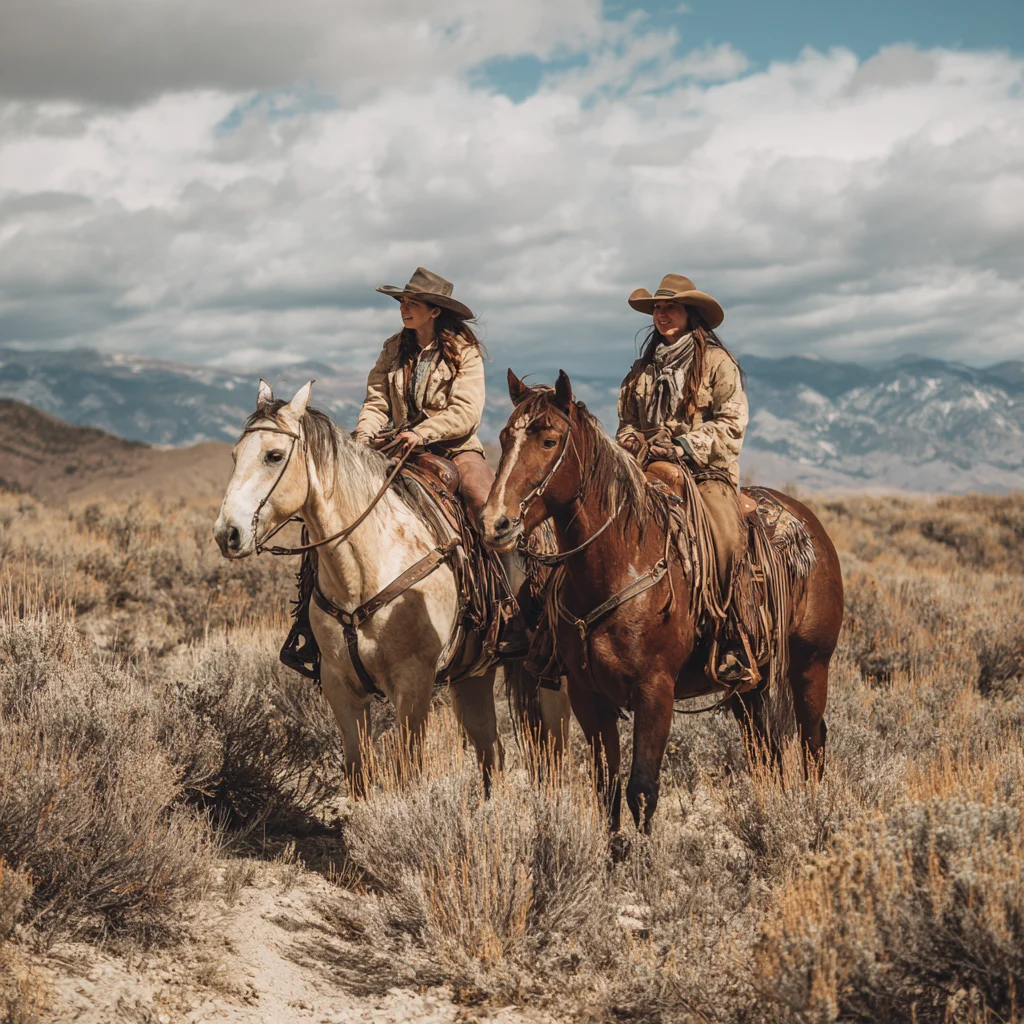
8. Never Ride Alone (Unless…)
The safest trail riding happens with a buddy. But I understand that’s not always possible. If you must ride solo, follow these extra precautions:
Solo riding is acceptable when:
- You’re on a familiar, well-traveled trail
- Cell service is reliable throughout
- Weather conditions are good
- Your horse is experienced and trustworthy
- You’ve told multiple people your exact route and timeline
- It’s during daylight hours with plenty of time before dark
NEVER ride alone if:
- You’re on an unfamiliar trail
- Cell service is unreliable or nonexistent
- Weather conditions are questionable
- Your horse is green or unpredictable
- You’re recovering from injury or not feeling 100%
- The trail has known hazards (deep water, steep drops, wildlife)
Consider carrying a GPS beacon or satellite communicator for solo rides in areas without cell service. Devices like the Garmin inReach allow you to send emergency messages and share your location even when phones don’t work.
9. Build Your Horse’s Trail Fitness Gradually
Trail riding requires different fitness than arena work. Hills, uneven terrain, and sustained walking or trotting over miles build muscles differently than flat arena sessions.
Safe conditioning progression:
- Start with short rides (30-45 minutes) on easy, flat terrain
- Increase duration by 15 minutes per week
- Add hills and technical terrain only after building a time base
- Trail ride 2-3 times per week for consistent fitness
- Allow easy recovery rides between challenging rides
- After a layoff, start the conditioning process over from the beginning
Signs your horse is fatigued:
- Stumbling or tripping more than usual
- Heavy breathing that doesn’t recover during walk breaks
- Reluctance to move forward or significantly slowing pace
- Head hanging low or sluggish attitude
- Excessive sweating or dry coat (dehydration)
- Muscle trembling or twitching
If you see fatigue signs, dismount immediately, find shade, offer water if available, and let your horse rest completely before continuing. On longer rides, plan rest breaks every hour—loosen the girth, let your horse graze if safe, and check legs for any issues.
10. Practice Leave No Trace Principles
As trail riders, we have a responsibility to protect the environment and preserve trail access for future generations. Following Leave No Trace principles isn’t just good ethics—it’s essential for keeping trails open to horses.
Key principles for equestrians:
Stay on designated trails: Don’t create new paths or shortcuts. This prevents erosion and protects vegetation. When you encounter mud or puddles, ride through them rather than going around—widening trails damages more area.
Dispose of waste properly: Pack out ALL trash—yours and any you find. Scatter manure off the trail when possible, especially near parking areas and water sources. Don’t leave manure in the middle of the trail where it impacts other users.
Respect wildlife: Observe from a distance, never approach or feed animals. Avoid wildlife during sensitive times (mating, nesting, raising young). Control your horse around wildlife—don’t chase or disturb animals.
Be considerate of others: Yield appropriately and with courtesy. Be friendly and educate others about horses. Keep your horse under control at all times. Remember: your behavior represents all equestrians.
Minimize impact: Water horses at designated areas, not directly in streams. If camping, use highlines or portable corrals—never tie to trees. Keep noise levels down. Use weed-free hay if camping to prevent spreading invasive species.
Trail access for horses is a privilege that can be revoked if we don’t demonstrate responsible use. Every ride is an opportunity to show that horses and riders belong on trails!
Ready to Hit the Trails Safely?
Get the complete Trail Riding Safety & Preparation Guide FREE!
Final Thoughts: Preparation Equals Freedom
Trail riding offers incredible opportunities for adventure, bonding with your horse, and experiencing nature in ways no other equestrian discipline can match. But the freedom of the trail comes with responsibility—to yourself, your horse, other trail users, and the environment.
The riders who enjoy trail riding the most aren’t worried about what might go wrong. They’re confident because they’re prepared. They’ve checked their gear, packed appropriately, learned proper techniques, and know how to handle emergencies. That preparation doesn’t limit their enjoyment—it enhances it.
After decades of trail riding, I still complete my pre-ride checklist, still tell someone where I’m going, and still pack my first aid kit for every single ride. These habits have kept me safe through countless adventures and given me the confidence to explore new trails without fear.
Start with these 10 essential safety tips, build them into habits, and you’ll find that trail riding becomes even more enjoyable when you’re riding with confidence instead of anxiety. The trails are waiting—get out there safely and make some incredible memories with your horse!
Have questions about trail riding safety? Leave a comment below—I’d love to hear about your trail riding experiences and any additional safety tips you’ve learned along the way!


Leave a Reply